How to Remove a Couch Skirt in 20 Minutes
Well hello there!
You guys. I’m so excited to share today’s post with you!
First of all… I’m not a crafter. I kind of wish I was… but I’m not.
Still, I’m trying to improve my overall craftiness because I figure it can’t hurt.
Right?
Plus David and I have been redecorating our upstairs living room over the last few months, but we’ve been trying to do as much of it secondhand as possible.
For one: it’s an affordable option…
but more importantly it’s the most sustainable way to redecorate.
One thing we for sure needed to upgrade was our couch. We were using a couch that was in our old basement (we moved a year and a half ago), and had been there for a long time. It was in terrible shape, the cushions were shredding apart, and it was faded in weird patches.
We weren’t necessarily planning on getting a couch secondhand (we were actually eyeing this couch originally), but then this free couch popped up in my Marketplace feed, and while at first glance it didn’t look like much, I saw so much potential…
especially when I peered under the skirt (yup, I’m a couch creeper), and saw these gorgeous mid century legs!
I have plans to (possibly) eventually reupholster the whole thing, but I knew that I wanted to remove the skirt right away.
I thought it was going to be super difficult, but it turned out to be a cinch! It took me about 20 minutes to complete, and that’s with three babies under foot!
So without further ado… how to remove a couch skirt in 20 minutes:
1.|
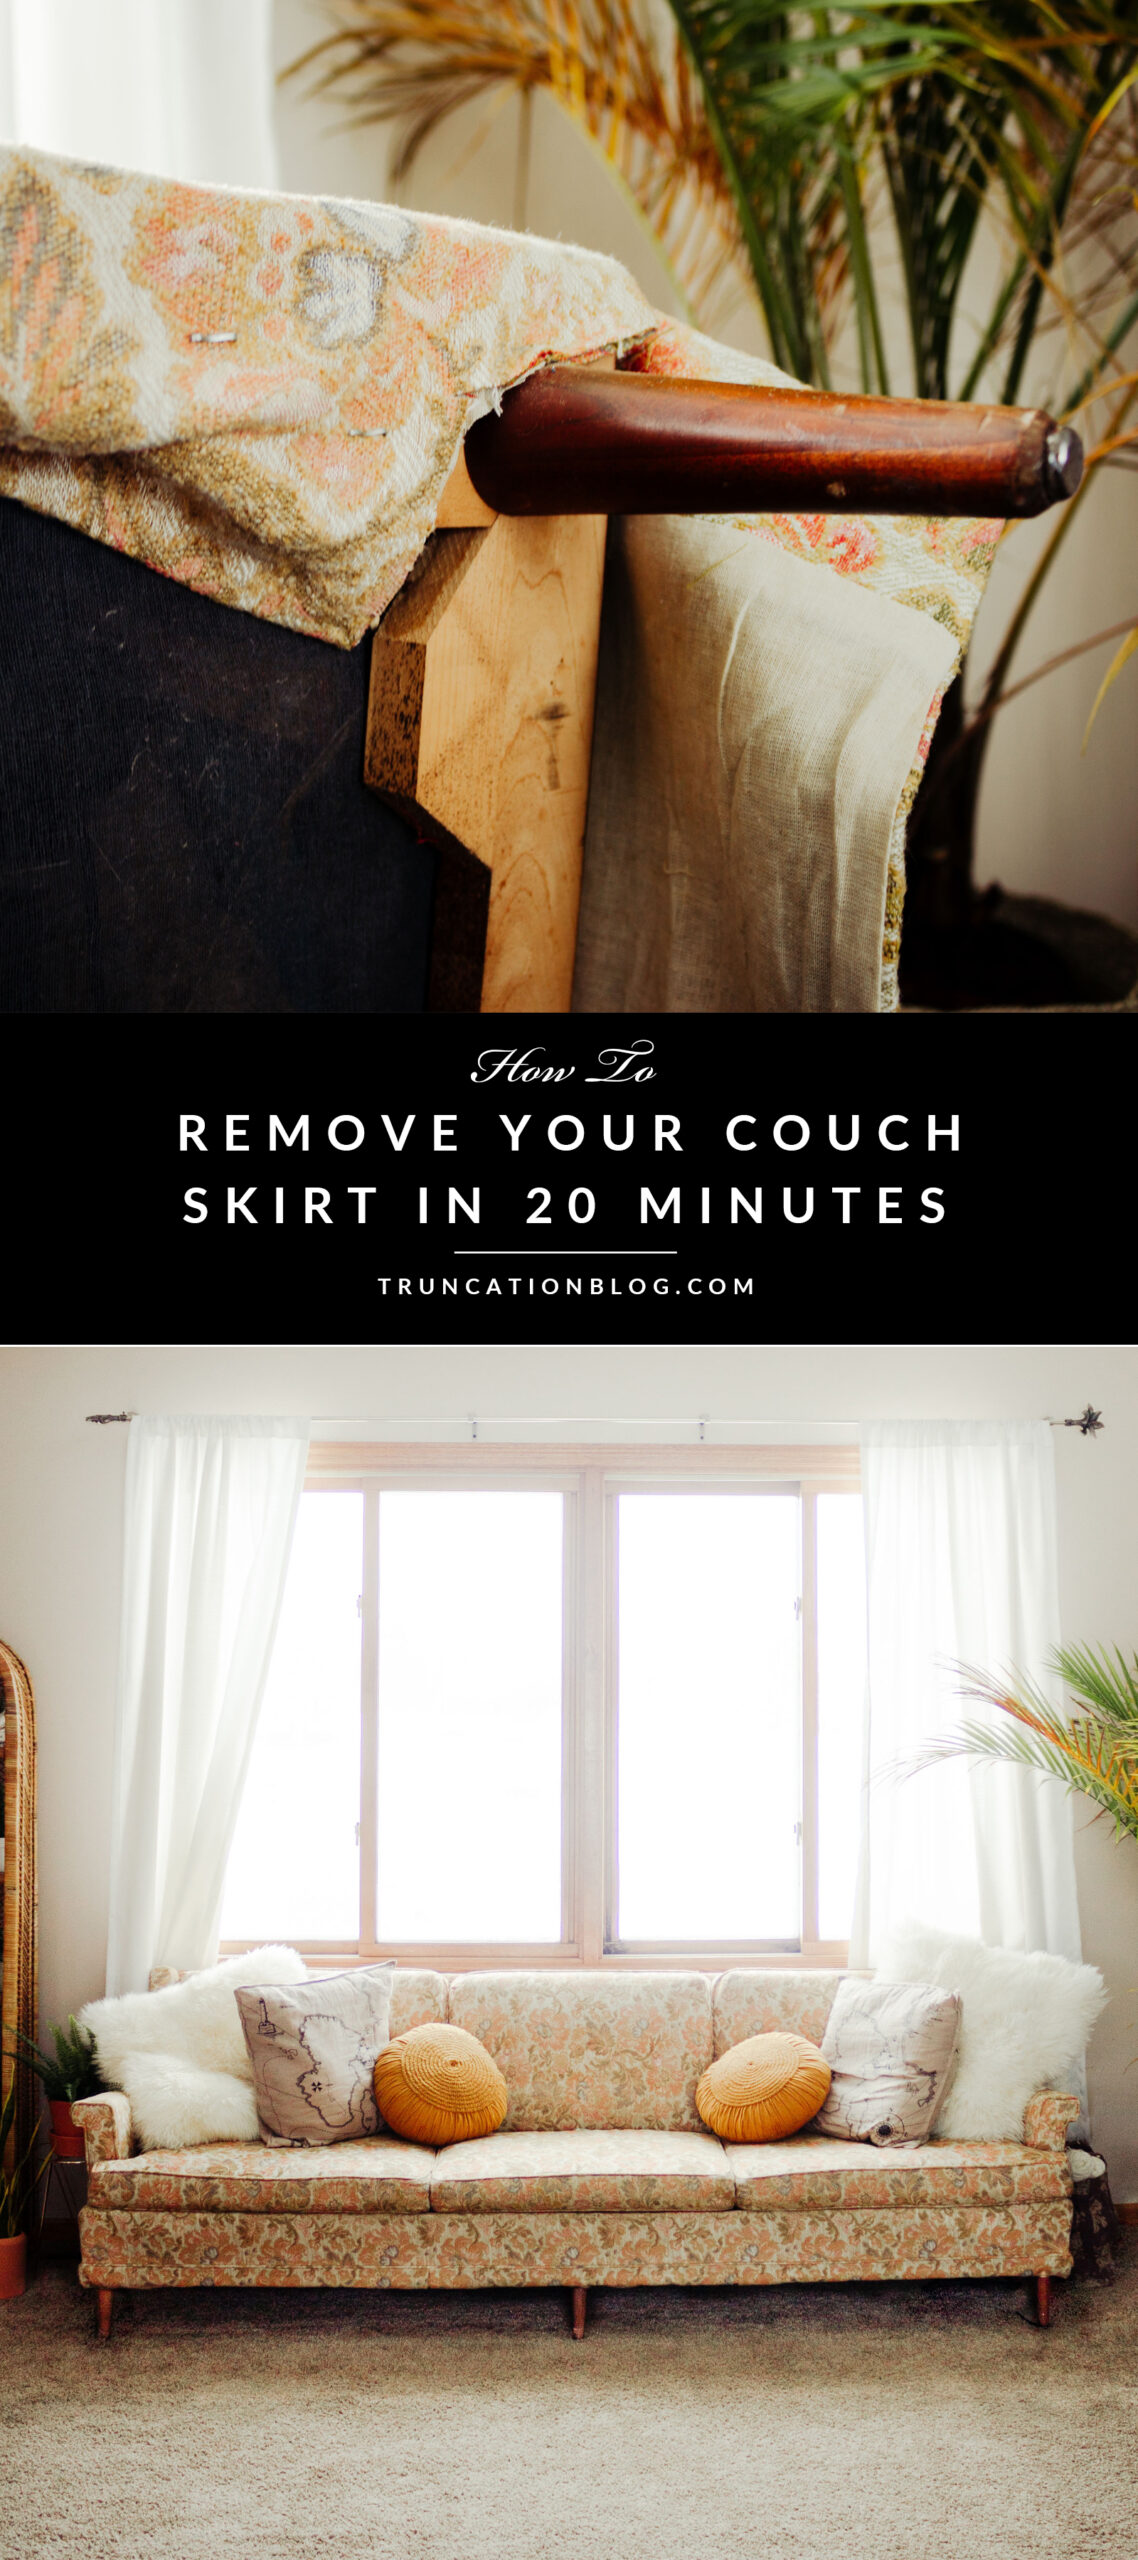
May I present the before photo! Confession: I totally forgot to take a before photo, so here’s one of the only photos I had taken with the skirt still on. It gives you a good idea at least (hopefully!).

2.|
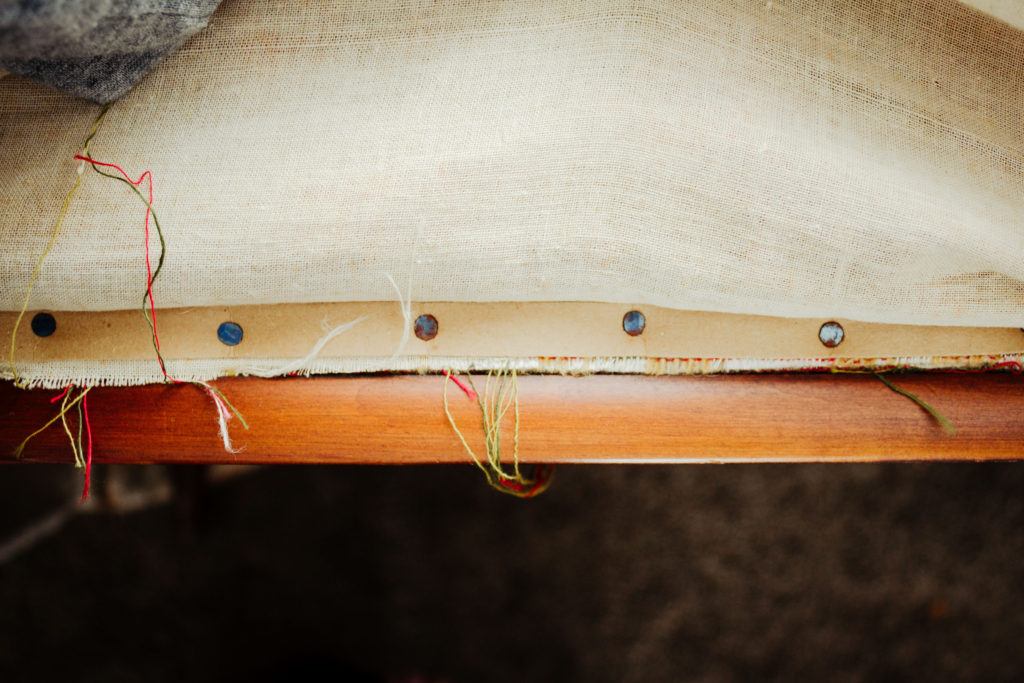
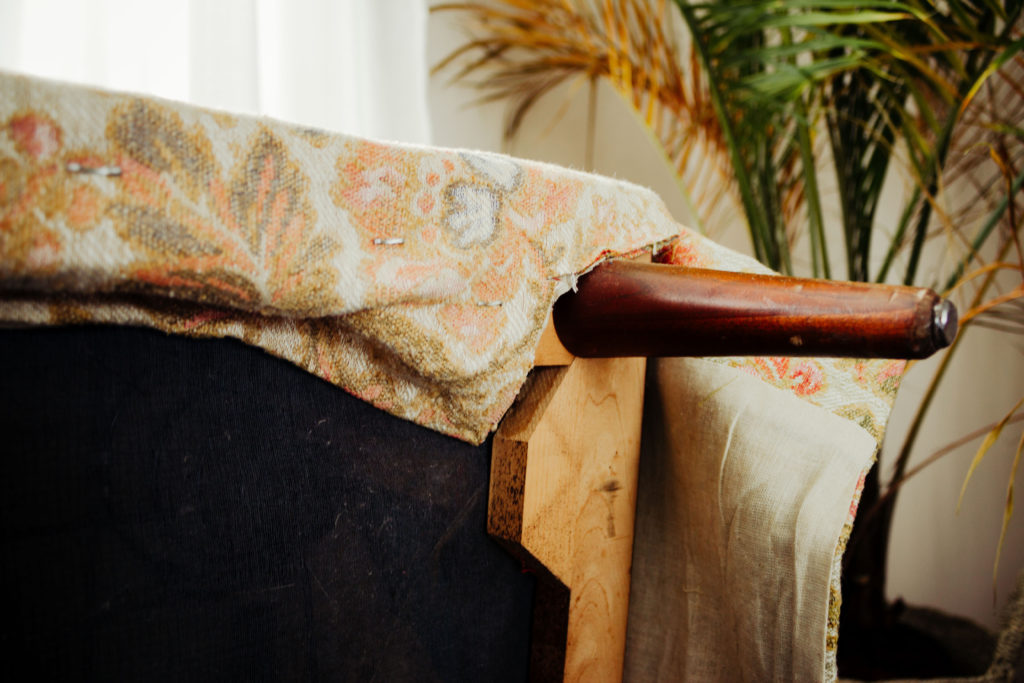
Our couch was unfortunately not finished all the way down to the bottom under the skirt, as you can see in the photo below. If it had been, all I would have needed was one of these tools to remove the tacks, and the job would have been done even more quickly.
3.|
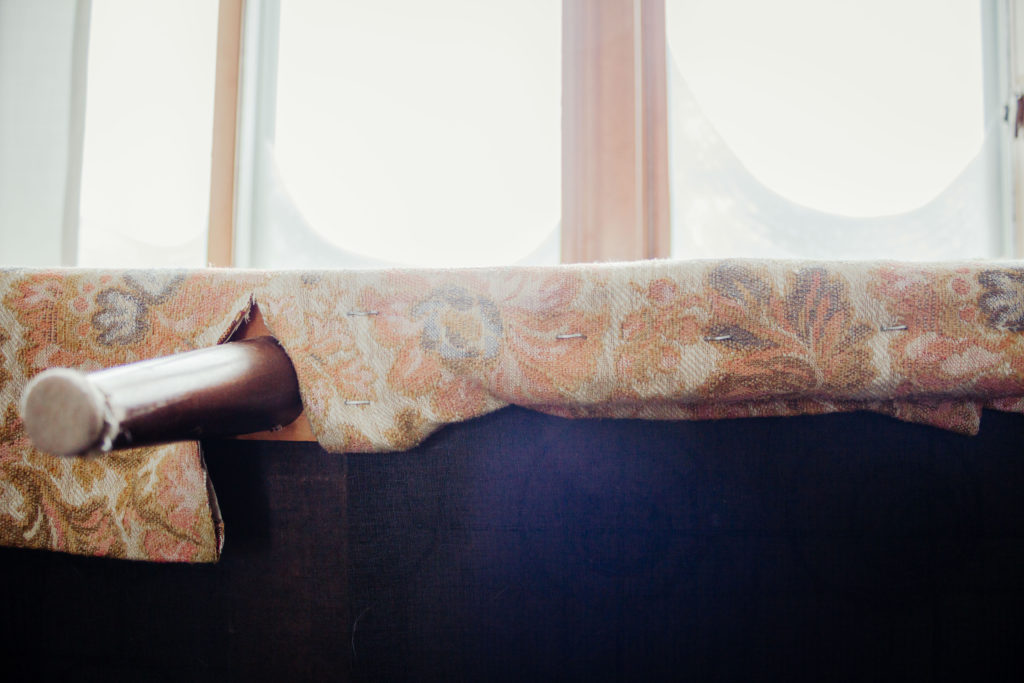
Instead, I just grabbed my handy staple gun, and a pair of scissors and got to town. All you have to do is stretch the fabric over the side, and under the couch (I tipped the couch back to make this part easier) and staple away. Just make sure to pull the fabric as taught as you can get it, and space the staples about four inches apart.
4.|
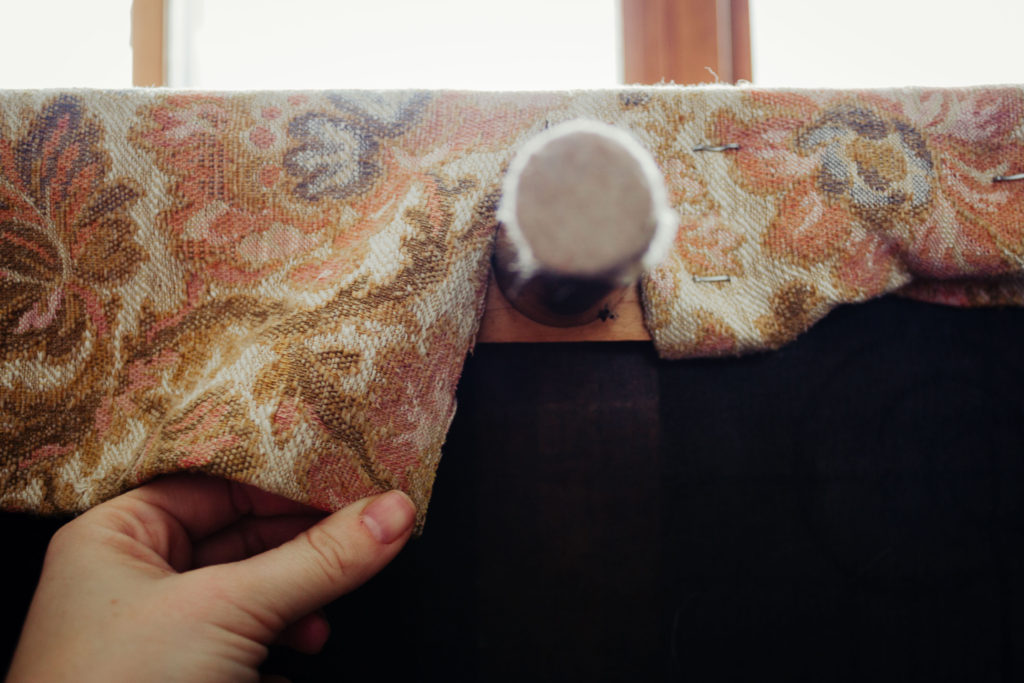
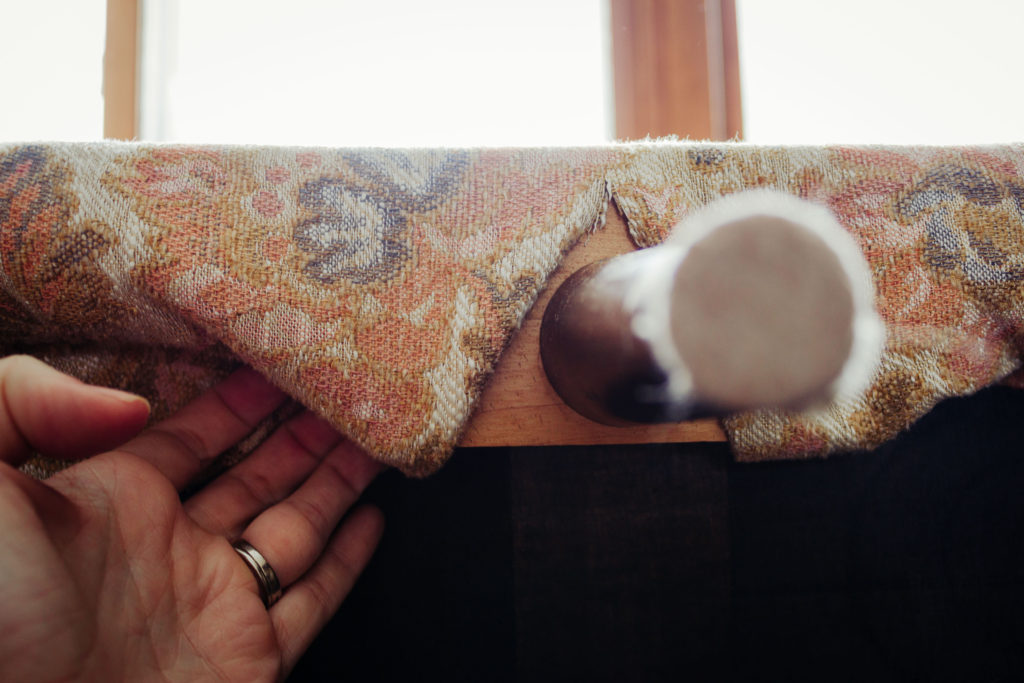
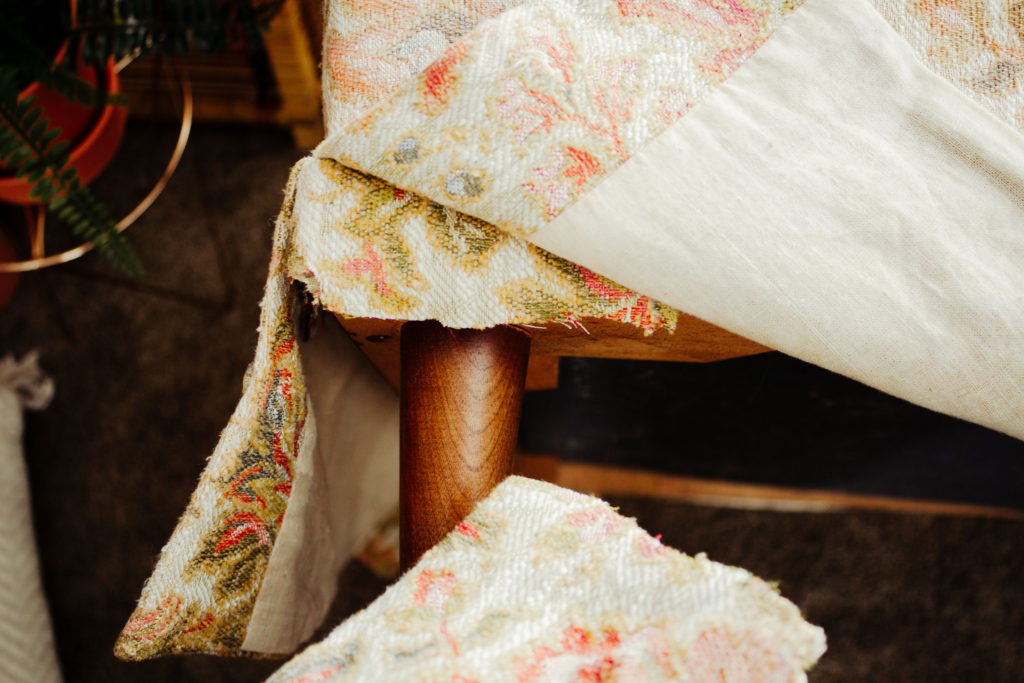
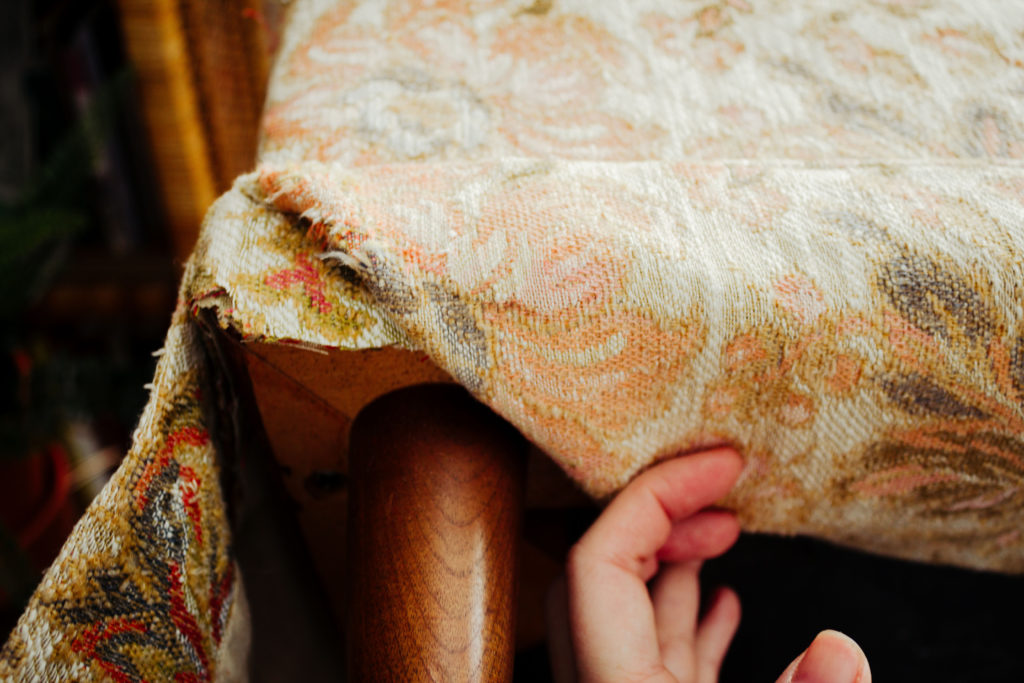
If you have a center leg like I do, just cut the fabric in a “v” shape, and fold the fabric under on each side (see second picture). I gave this section a few extra staples just to make sure it was laying correctly.
5.|
When you get to the corners, utilize the same concept from the middle leg, but you might have to cut out a bit more fabric. Mine had a little under flap on each corner that I just cut away, but if yours doesn’t just cut up the center, and then a bit more if necessary. Fold under just like you did with the center, and staple until it looks good.
6.|
And that’s it! Flip the couch back down, and you suddenly have a cool, retro modern couch instead of “couch I pulled from my Grandma’s basement” (sorry baby is not included)!
This is seriously one of the easiest hacks ever, but it makes such a huge difference!

Have you guys tried to do anything like this? Do you have a couch it would work on? If you have ugly, but removable legs on your couch you could always just pick up these legs, and voila! You’d have a whole new couch.
Let me know if you guys end up trying it!
Until next time,
Karin


This is such a great idea! I love the idea of “hacking” old furniture to make it fit your style better.
Thanks Justina! It was a fun project!
Love the idea of altering existing pieces! This totally updates the look of the couch!
It totally does! And the room even looked bigger than it did before.
It was not very good looking now I like it! What a fabulous idea. Too bad my skirt is on a flex steel sleeper sofa on my rv. No lovely set of gams?
Thank you! I was super pleased with how it turned out, but it was definitely down to the actual bones of the couch!
I am so pleased I found this. I have been hmming and hawing over keeping my 1970’s couch which is too big but.. super cool. I was just starting to remove the skirt on mine, as it is finished underneath but it seems like it might take a while. My skirt still has the plastic cover on it and so whats underneath is super clean and might be too “bright” plus there is a row of piping I don’t want to screw up. I was going to keep the extra fabric, just in case, but if I do your trick, it will be easier to store. 😉 My couch has the exact same arm shape as yours too which I like a lot.
Thanks for the long ago post. I will post pictures when done.
Oh yay! I’m so glad you found it helpful. It’s so fun to give new life to an old couch!